When you know you're going to have to move your entire house contents halfway round the world it makes you pull out those things that you aren't going to be able to take with you or that you don't want to haul all that way. Going through one of my boxes of stuff I found half a can of shaving foam. In a drawer in the filing cabinet were some half used up bottles of acrylic inks. In the dim recesses of my mind was a memory of printing with both of those things.
If you haven't tried this, it's fun. Make sure you have something to put the used foam in. I used an old plate to pile it all on so that I could dispose of it all at the end.
So here's a quick photo tutorial:
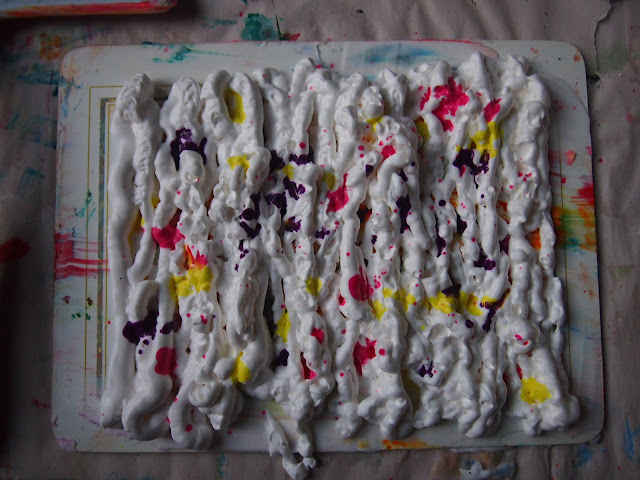
1. Squirt some shaving foam on to a hard surface. I used an old placemat this time. In the past I've used a plastic tray.
2. Drip some inks randomly on the foam.
3. Swirl a palette knife or something similar through the ink blots until the colour is spread out.
4. Place a sheet of paper on the foam and pat down so there are no air bubbles.
5. Pull the paper up off the foam.
6. The paper will be covered in foam. Lay the paper flat on a firm surface.
7. Use a scraper to remove the rest of the foam. I have one that is wide enough to remove the foam in one swipe, but you can use a credit card/hotel card or similar.
8. Lay the sheet aside to dry.
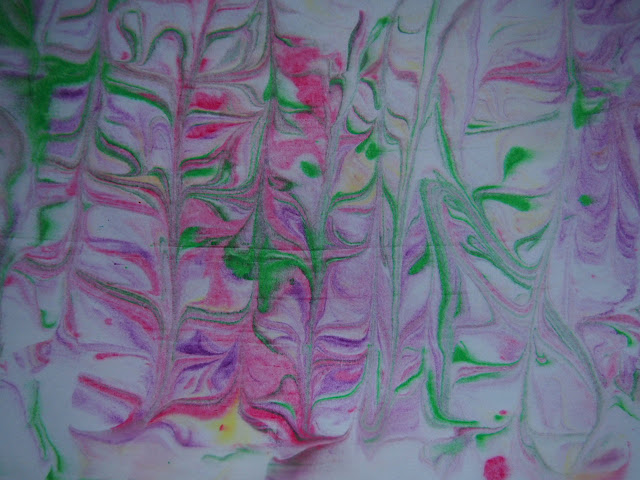
You can continue adding paint several times or until the foam is too thin to pull a print from. Below are the other prints I took from the same lot of foam:
You can also pull a print without adding more paint or swirling it around, as below:
And a close-up:
I first found this technique in Texture Effects for Rubber Stamping by Nancy Curry.


I've been wanting to try this - GREAT inspiration!!!
ReplyDelete